When developing Android applications in Unity, determining the SDK version of the device is crucial. This allows you to adapt your app to various device characteristics. In this article, we'll walk you through how to implement this functionality. Below is the step-by-step process.
Step-by-Step Process
Here is an overview of the steps involved:
| Step | Description |
|---|---|
| 1 | Create a Unity script and add it to the scene. |
| 2 | Reference the necessary Android namespaces in the script. |
| 3 |
Use AndroidJavaClass to get the SDK version.
|
| 4 | Perform logic based on the SDK version. |
Detailed Steps
Step 1: Create a Unity Script
In the Unity Editor, right-click the Assets folder, select Create -> C# Script, and name it SDKVersionChecker. Then, double-click the script to open it in the code editor.
Step 2: Reference Namespaces
At the top of your script, you need to import the necessary namespaces. The code is as follows:
using UnityEngine; // Import UnityEngine namespace
Step 3: Get the SDK Version
Now, let's write the code to get the Android SDK version of the device:
public class SDKVersionChecker : MonoBehaviour
{
    void Start()
    {
        // Get the current Android version using AndroidJavaClass
        using (AndroidJavaClass androidVersion = new AndroidJavaClass("android.os.Build$VERSION"))
        {
            // Retrieve the SDK version and convert it to an integer
            int sdkVersion = androidVersion.GetStatic<int>("SDK_INT");

            // Output the SDK version number
            Debug.Log("Android SDK Version: " + sdkVersion);

            // Logic based on the SDK version
            if (sdkVersion >= 30) // Android 11
            {
                Debug.Log("This device is running Android 11 or higher.");
            }
            else if (sdkVersion >= 29) // Android 10
            {
                Debug.Log("This device is running Android 10.");
            }
            else
            {
                Debug.Log("This device is running a version lower than Android 10.");
            }
        }
    }
}
Step 4: Logic Judgment
In the above code, we use the AndroidJavaClass to retrieve the SDK version number and perform logic based on the result, outputting the corresponding information. The Debug.Log function in Unity is used to print logs, which helps us debug and check the version.
Class Diagram
Here is a simple class diagram for the SDKVersionChecker class to illustrate its structure:
SDKVersionChecker
+void Start()
Output Results
When the program is executed, you will see the Android SDK version printed in the Unity console. This will allow you to determine the current Android version of the device.
Summary
Through these steps, we have successfully implemented a way to determine the Android SDK version in Unity. The learning process is not only about completing tasks but also about understanding the underlying principles. Mastering these basics can help you optimize and adapt your app for different devices in future development projects.
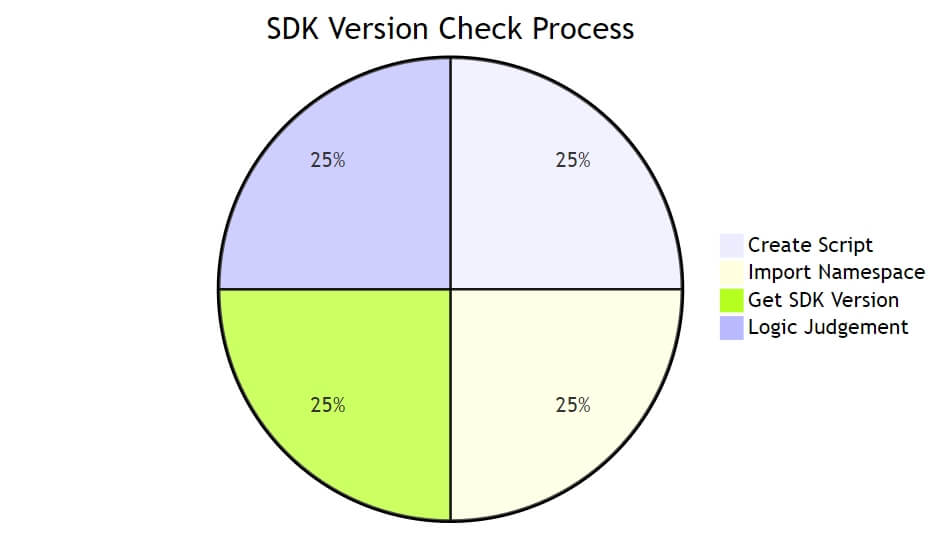
Before You Go: Workflow Pie Chart
Here’s a pie chart illustrating the breakdown of our workflow:

I hope this article helps you on your game development journey! Wishing you success in your future endeavors!

